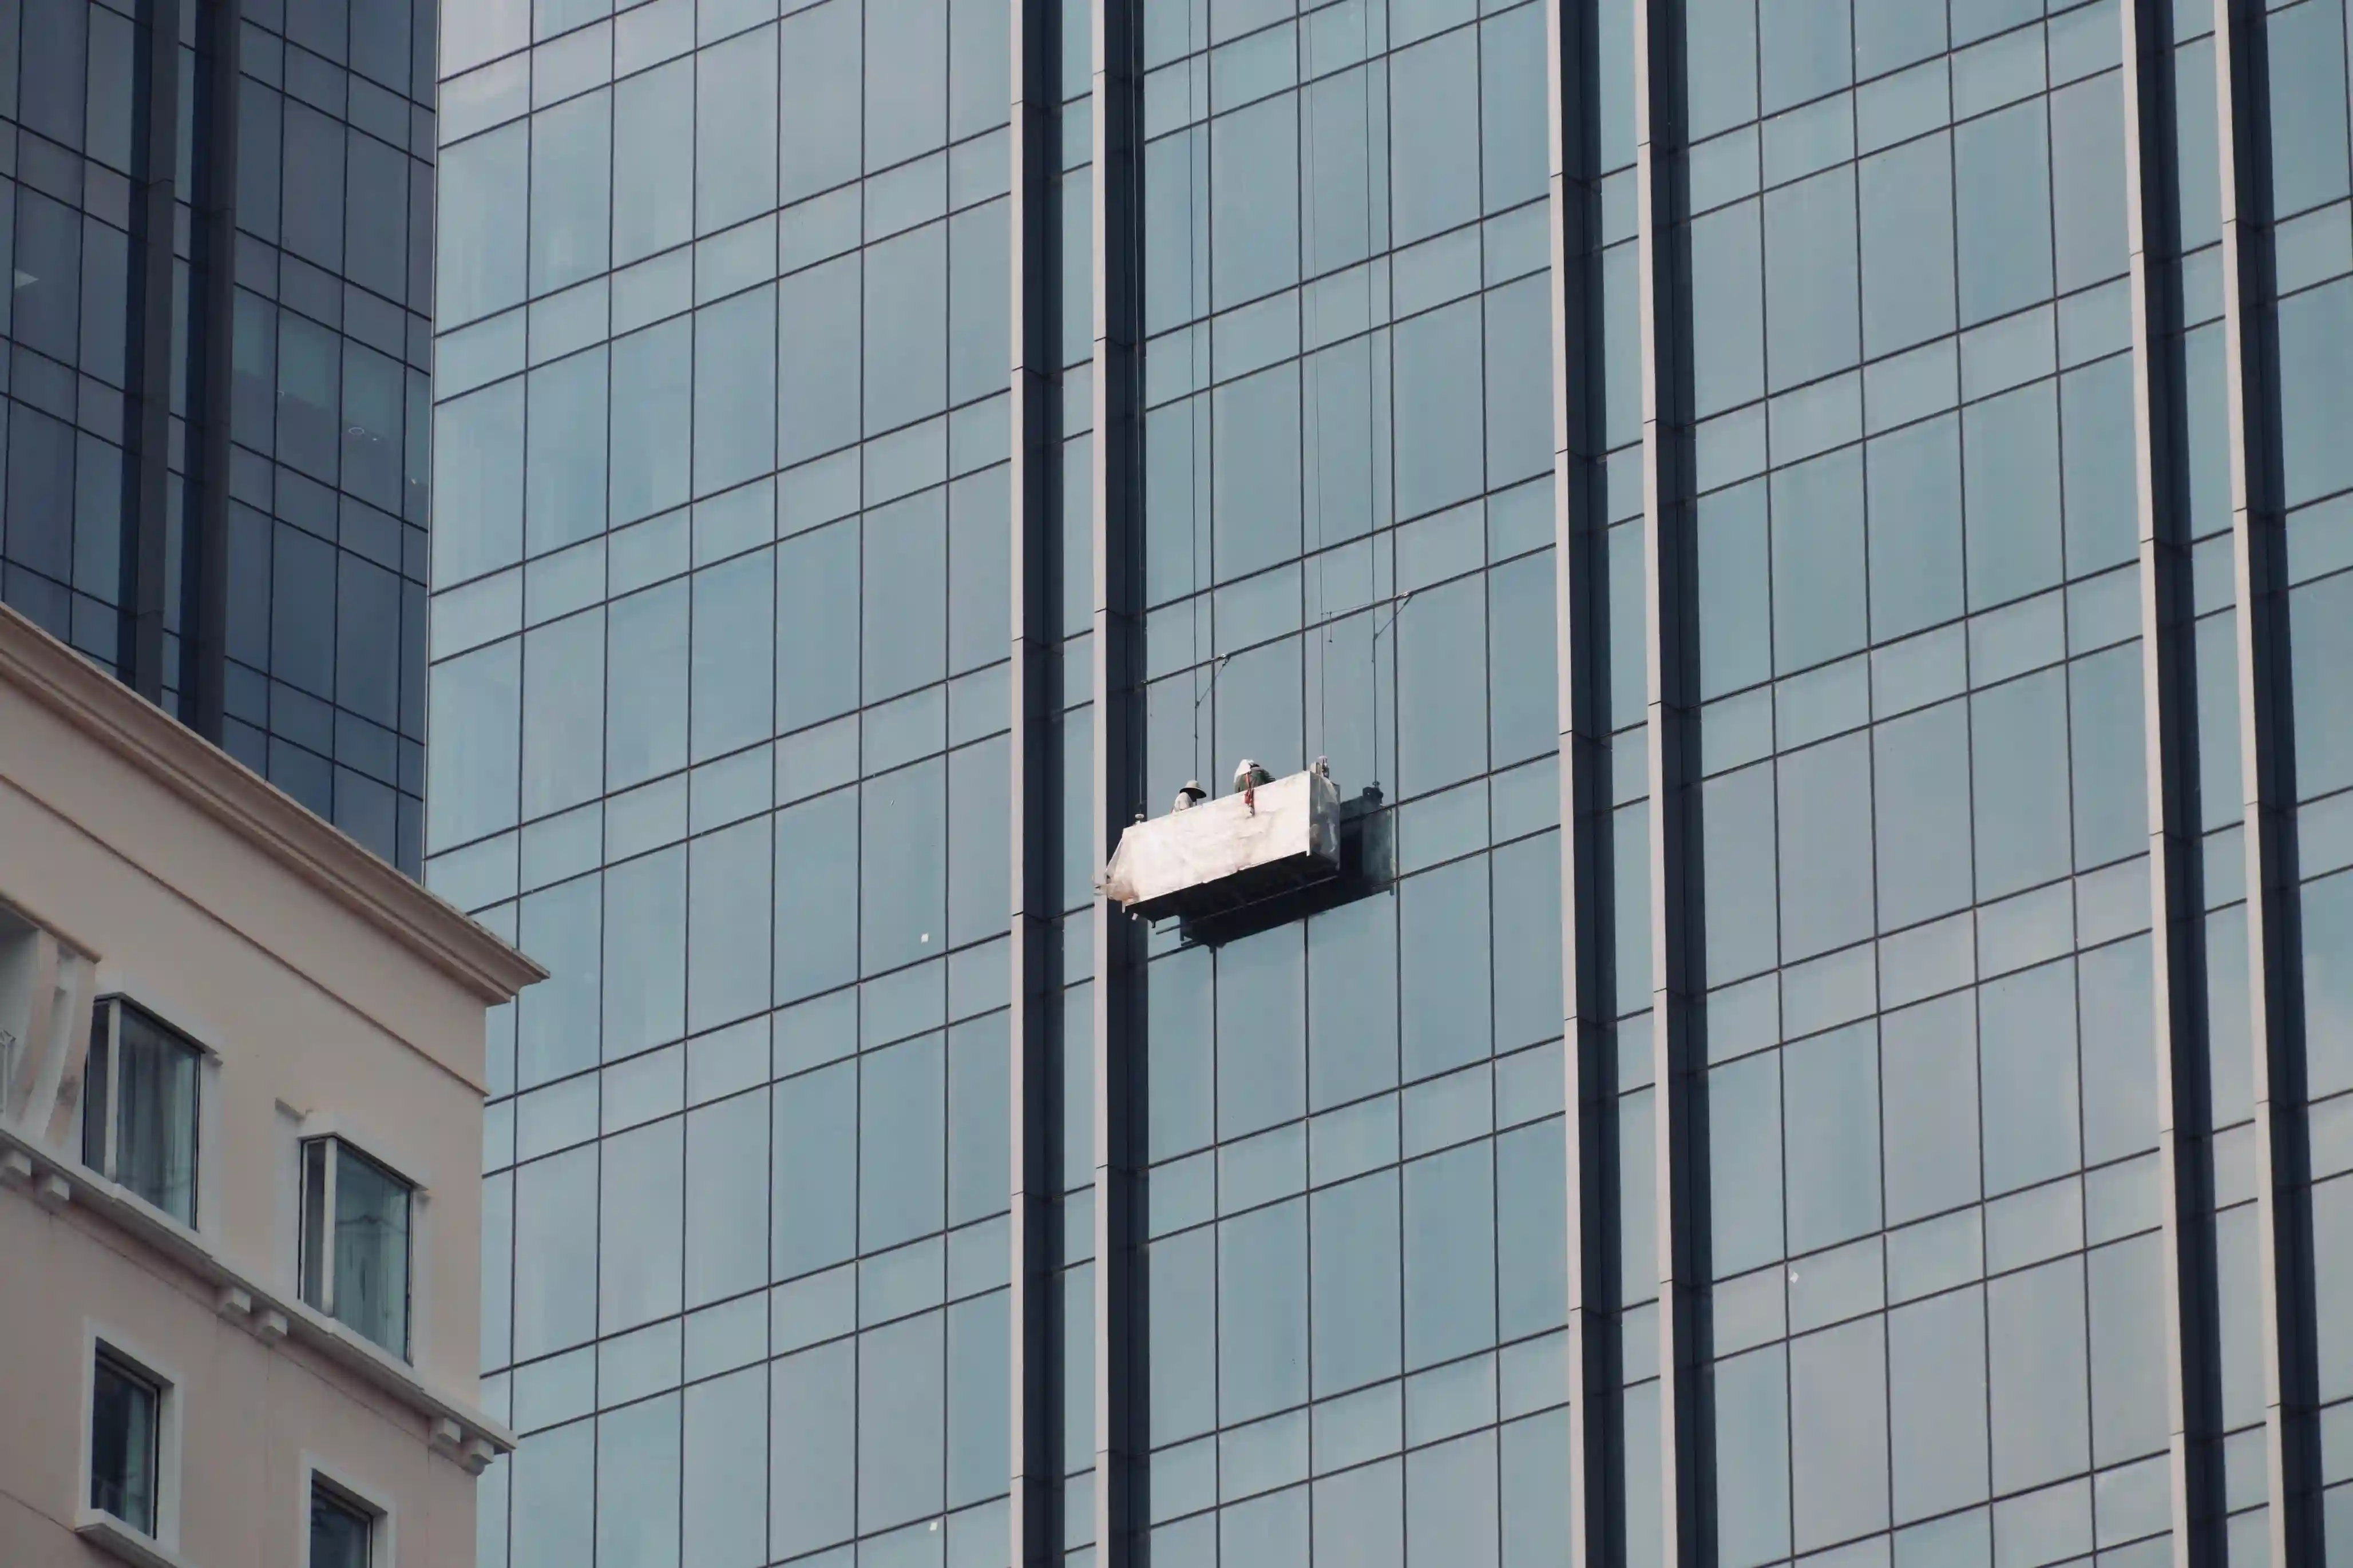
Problems with a building’s exterior usually don’t happen all at once. Small cracks, loose materials, failed sealants, water stains, and corrosion are easy to miss until they turn into leaks, falling-object risks, unplanned repair work, or compliance problems.
Facade maintenance, repair, and inspection gives building owners a way to catch those issues early, document what is happening, and determine which repairs should be addressed first. This guide explains when inspections are needed, what inspectors check, how defects are prioritized, what owners should prepare, and how to keep records that support future maintenance and compliance.
Quick Summary
- Maintenance slows deterioration, inspection identifies defects and risk, and repair corrects confirmed problems.
- Findings should be prioritised by safety risk, water entry, compliance requirements, and the likelihood of further deterioration.
- Strong records connect each defect to its location, severity, repair action, and history across inspection cycles.
What Facade Maintenance, Repair and Inspection Involves
Facade maintenance, repair, and inspection are related processes, but they serve different purposes. Maintenance keeps exterior components in serviceable condition. Inspection checks the facade for defects and safety risks. Repair corrects confirmed problems after the issue has been identified and scoped.
Maintenance prevents avoidable facade damage
Maintenance covers the routine work that slows deterioration from water, weather, dirt, and movement. This includes cleaning exterior surfaces, clearing drainage paths, checking sealants around windows and joints, reviewing coatings, and watching masonry or cladding for early signs of movement.
Even minor changes matter here: blocked drainage, cracked sealant, staining, or slight surface movement can indicate larger repair needs developing over time.
Inspection finds visible and concealed defects
Inspection reviews the actual condition of the facade. Inspectors check exterior materials, joints, fixtures, ledges, balconies, waterproofing details, and areas where leaks or falling materials create risk.
A clear facade inspection report should document the findings, their exact location, the level of risk or severity, and the recommended next steps. Some findings are visible from the outside. Others need closer access, thermal imaging, moisture review, or qualified judgment to confirm the cause.
Repair fixes confirmed defects
Repair starts after the defect has been identified and understood. Depending on the finding, that could mean resealing joints, repairing cracks, addressing corrosion, stabilizing loose materials, replacing damaged components, or planning larger remedial works.
The repair priority should be based on safety risk, water intrusion, compliance requirements, and the chance of the defect worsening.
When Does a Building Need a Facade Inspection?
Visible damage is not the only reason to inspect a facade. Age, regulation, water entry, loose materials, and other safety risks all create different inspection triggers.
Timing matters because facade issues become harder to control once water entry, loose materials, or compliance deadlines are already involved. A facade inspection gives owners a clearer record before the issue turns into emergency repair work, falling-material risk, or a compliance problem.
Scheduled inspection requirements
Singapore’s policy makes that timing concrete through the Periodic Facade Inspection rule: once a qualifying building is over 20 years old, its facade must be inspected every seven years.
Building owners should confirm whether their building falls under the rule, which professional appointments are required, what notices or forms apply, and what access needs to be arranged before work starts.
Warning signs that should trigger inspection
Visible changes deserve attention before they become harder to control. Look for:
- cracks in concrete, render, masonry, or cladding
- loose tiles, panels, fixtures, or architectural features
- water stains, leaks, or damp areas near the exterior wall
- rust staining or visible corrosion
- spalling concrete or exposed reinforcement
- failed sealants around windows, joints, or facade openings
- repeated leaks after rain
Not every sign carries the same urgency. A minor sealant gap sits in a different category from loose cladding, spalling concrete, or falling debris. The inspection should separate routine maintenance items from defects that need faster action.
Who should carry out the inspection
Facade inspection should be handled by qualified professionals when safety, access, or compliance requirements are involved. Depending on the building and jurisdiction, qualified roles include a competent person, facade inspector, professional engineer, registered architect, or trained access team working under the required professional oversight.
Access and image capture are not the same as professional inspection. Rope access teams, lifts, asset inspection using drones, and other capture methods gather visual data, but the results still require evaluation by a qualified professional before any repair decisions are made.

What Inspectors Check and How They Inspect It
A facade inspection should not stop at a surface-level walkaround. The findings need to connect each concern to a location, material, access method, and level of risk. The same crack means different things on a render finish, concrete slab edge, masonry wall, or loose cladding panel.
Exterior materials and facade elements
Inspectors review the parts of the facade exposed to weather, movement, fixings, and water entry. This includes concrete, masonry, stone, metal panels, curtain walls, glass, cladding, sealants, window frames, balcony edges, parapets, roof lines, ledges, brackets, anchors, and other exposed fixtures.
The inspection also looks at where different materials meet. Joints, openings, corners, drainage points, and transitions between facade systems are common places for leaks, sealant failure, staining, corrosion, and movement to appear first.
Common facade defects
A defect list only becomes useful when each item is tied to location and severity. “Crack on facade” is too vague. “Vertical crack at Level 12, east elevation, beside window opening, with water staining” gives the repair team something they can act on.
Inspection methods used to confirm defects
Inspectors choose the access and inspection method based on building height, facade design, risk level, and the type of defect being reviewed. A ground-level visual check may flag obvious issues, but close-up access is needed when the concern involves loose materials, cracks, fixings, corrosion, or water entry.
Common methods include ground-level visual checks, close-up inspection, rope access, boom lifts, gondolas, drones, thermal imaging, moisture review, and photo documentation. Each method answers a different inspection question. Thermal imaging can point to moisture patterns. Rope access can support close-up checks. Drone capture can document high or difficult-to-reach elevations.
Photos alone are not enough for a complete facade inspection. Each finding should be tied to a specific elevation, level, facade zone, and repair priority. An AI-driven inspection workflow should connect each defect to mapped facade zones, track how it changes over time, and flag patterns that point to recurring failure points rather than isolated issues.
Building Facade Maintenance Checklist
Facade maintenance is the work that happens between formal inspections. It tracks the exterior conditions that change over time: water paths, joints, surface damage, fixings, coatings, and recurring leaks.
The checklist below is not intended to diagnose every possible defect or replace a professional inspection. Instead, it serves as a practical starting point for owners and facilities teams to identify visible changes early, document observations consistently, and gather useful information that can support more detailed inspections or inform future repair planning.
Routine facade maintenance items
Maintenance records to keep
Leaks, cracks, stains, and loose materials are harder to manage when no one knows whether they are new, recurring, or already repaired. Maintenance records create that history.
Keep dated photos, repair logs, leak reports, occupant complaints, cleaning records, drainage checks, previous inspection notes, material replacement records, and contractor recommendations. Each record should include the location, date, issue observed, action taken, and whether the same problem has appeared before.
What Building Owners Should Prepare Before Inspection
A facade inspection begins with preparation and review of existing information. Drawings, past reports, leak records, repair logs, and access details show inspectors what changed and which areas need closer review.
Without preparation, inspection teams face delays in gaining access, repeated questions, and overlooked areas, and findings that are harder to connect to past maintenance or repair history.
Documents to prepare
Before the inspection, gather the records that show the building’s facade layout, known issues, and past work. These include:
- as-built drawings
- facade elevations
- approved architectural or structural drawings
- previous facade inspection reports
- past repair records
- waterproofing or leakage reports
- photos of recurring cracks, stains, leaks, or loose materials
- material replacement records
- contractor recommendations or unresolved defect lists
Prioritize records that show where problems appeared, what was repaired, and whether the same issue returned.
Access and site coordination
Inspection teams need safe access to the areas being reviewed. Owners should confirm roof access, balcony access, plant room access, facade edges, ledges, restricted zones, and any areas blocked by equipment, landscaping, traffic, or tenant use.
For occupied buildings, the access plan needs to cover tenants or occupants before work starts. Notify them where inspection work affects balconies, windows, parking areas, walkways, or work zones. On-site teams should also plan for pedestrian control, equipment setup, weather limits, safety briefings, and any permits required for lifts, rope access, drones, or other inspection methods.

What Happens After Defects Are Found
Defect findings need to lead to a decision, not just sit in a report. Building owners need to know where each defect is, how serious it is, and whether it needs monitoring, maintenance, repair, or urgent action.
Defects are documented in the inspection report
The inspection report should connect each defect to a specific location. That means the elevation, level, facade zone, nearby opening, affected material, and supporting photos need to be clear enough for the repair team to find the same issue later.
A well-prepared report also includes the possible cause or contributing condition, severity note, recommended action, and any limits in the inspection. If an area could not be accessed, or a finding needs closer review, that should be recorded instead of treated as complete.
Defects are prioritized by risk
Not every defect moves into the same repair queue. A surface stain, failed sealant joint, loose panel, and spalling concrete all carry different levels of risk.
Severity ratings help owners decide what needs action first. Without a clear prioritization framework, teams will still have to translate raw findings into repair scopes, budgets, and follow-up records.
Repairs or rectification works are planned
Once defects are prioritized, the owner, consultant, and contractor can define the repair scope around risk, access, materials, budget, and timing. The scope should state what needs repair, where the work is located, what method will be used, and whether temporary safety controls are needed before work begins.
After repair or rectification, owners should keep completion photos, contractor notes, updated defect records, warranties, and follow-up inspection notes. Those records close the loop between inspection, repair, and future maintenance.
What Affects Facade Inspection and Repair Cost
Facade inspection costs in Singapore are often planned in the thousands. As a rough range, Periodic Facade Inspection can sit around S$10,000 to S$19,000 per building, while drone-based facade inspection can start from about S$1,500 and rise into the S$4,000 to S$12,000 range depending on coverage and reporting.
The number changes because inspection cost is built around time, access, verification, and documentation. A team needs to reach the facade safely, confirm the defect closely enough, record the finding properly, and prepare outputs that support repair decisions. Special access equipment, detailed reporting, traffic or pedestrian control, and work in occupied areas all add labor and coordination.
Repair cost is separate from inspection cost. A report may identify minor sealant failure, localized spalling, loose facade elements, waterproofing issues, or larger rectification work. Each one changes the pricing model because the contractor needs to price the repair method, material, access, labor, safety controls, and follow-up documentation.
Main cost factors
The lowest price is not always the most cost-effective option. Building owners should check what the price includes: inspection coverage, access, report detail, severity classification, repair recommendations, and follow-up documentation.
How to Evaluate a Facade Inspection and Repair Workflow
A facade inspection workflow should be judged by what happens after access and image capture. The output should show defect location, severity, which findings need qualified review, and what repair action should follow.
A good report should be ready for consultant review, contractor pricing, and repair planning, without requiring the owner to convert raw evidence into a usable scope.
Facade inspection workflow evaluation checklist
An AI inspection platform keeps repeated inspections consistent, so recurring leaks, sealant failures, and loose elements are easier to compare across buildings and repair cycles.
For facade-specific workflows, facade inspection software supports this by turning inspection evidence into mapped records, severity grading, repair priorities, and audit-ready reporting. It does not replace qualified review. It gives owners, consultants, and contractors a clearer way to verify findings and act on them.
Conclusion
Building facade maintenance, repair, and inspection should give owners more than a list of defects. The record should show how conditions have evolved, highlight the issues that actually matter, and make it clear where to act first.
For building owners, the next step is to check whether inspection is due, review visible facade risks, prepare the right documents, confirm safe access, and make sure the final report is detailed enough to support repair planning and future maintenance records.
That inspection-to-repair handoff is what H3 Zoom’s facade inspection platform supports.. We help owners, consultants, and contractors turn facade images and inspection findings into mapped defect records, severity notes, and report-ready outputs that owners, consultants, and contractors can use to plan the next step.