
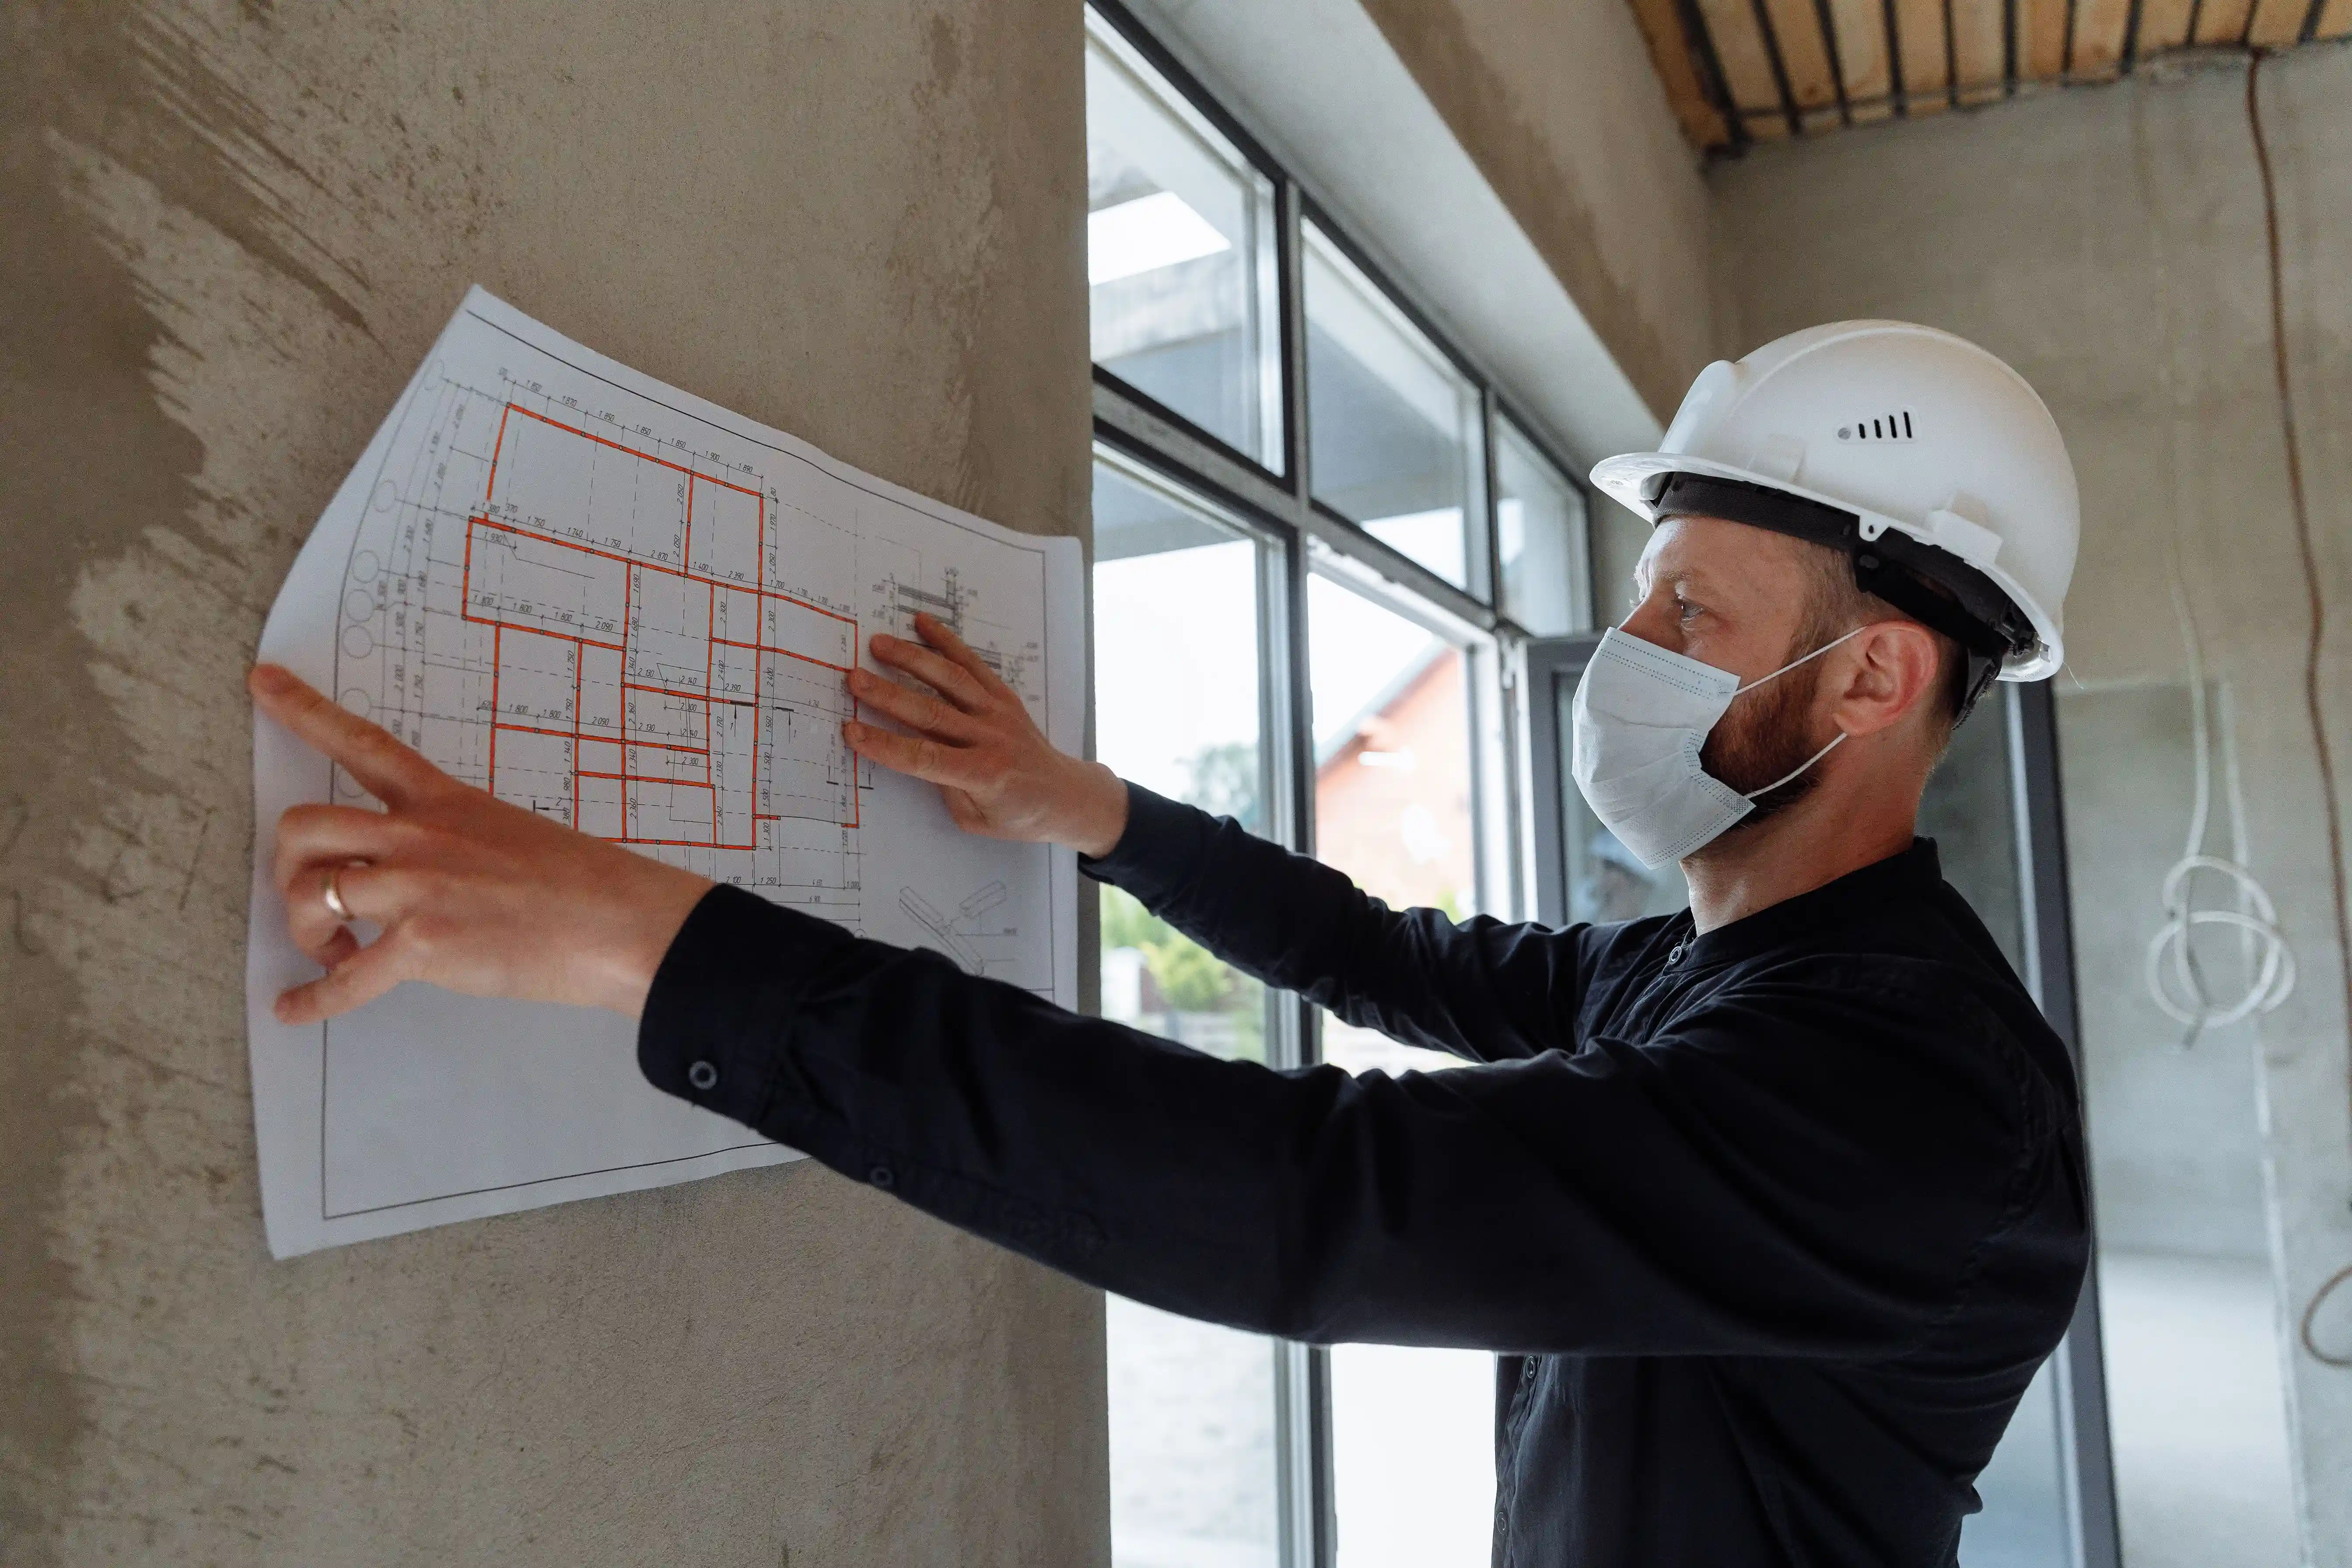
An interior inspection records the condition of a property before handover, renovation, purchase, or repair work changes it. The inspector checks accessible rooms, fittings, and exposed services, documents the defects, and states where the visible evidence isn’t enough to confirm the cause.
That boundary runs through the rest of the inspection. Some findings are ready for repair, while others need testing or a specialist first. This guide covers the walkthrough, the checklist, and the final report with that decision in mind.
Quick Summary
- Objective of Interior Inspection: Interior inspections systematically record a property's condition before events like handovers, renovations, or purchases to identify defects, determine necessary repairs, and establish an objective baseline for future reference.
- Comprehensive Coverage: Inspectors methodically examine every area—including walls, ceilings, floors, kitchens, bathrooms, and fixed fittings—to document issues such as cracks, water stains, drainage problems, or alignment faults without dismantling structural elements.
- Strategic Timing: Timing is critical; inspections should occur before property changes hands or renovation work begins to ensure clear accountability for existing defects and to allow ample time for corrective actions during the Defects Liability Period.
- Standardized Reporting: Effective reports must be clear and detailed, including room-specific observations, photographic evidence, measurements, and recommendations for further investigation or specialist repairs, providing a reliable record for owners, contractors, and maintenance teams.
What Does an Interior Inspection Cover?
An inspector moves through the property one room at a time. In a flat, that includes bedrooms, living and dining areas, the kitchen, bathrooms, corridors, storerooms, the balcony, and the utility yard. In a larger house, the inspection also covers internal stairs, landings, and service rooms. What gets checked changes with each space.
The inspector checks what is visible and reachable without opening walls, lifting fixed flooring, or taking equipment apart. Moisture readings, window water-tightness tests, bathroom ponding tests, and other measurements only form part of the visit when they are included in the agreed scope.
For newly completed private homes in Singapore, BCA’s Quality Mark provides a separate workmanship benchmark. It assesses floors, walls, ceilings, doors, windows, and fixed components, along with specified functional tests. A private interior inspection doesn’t follow the full Quality Mark process unless those checks were commissioned.
Once a problem extends beyond the visible surface, the relevant specialist takes over. Large structural cracks need an engineer. Exposed conductors require a licensed electrician, leaking pipes require a plumber, and signs of termites require a pest-control specialist.
When Should an Interior Inspection Be Carried Out?
Timing matters because renovation work, furniture, and repairs can hide or alter the property’s original condition. If the property changes hands first, it also becomes harder to establish who is responsible for an existing defect. The inspection needs to happen before either of those things occurs.
After key collection
Inspect a new home while it is still empty. Without furniture or renovation work in the way, cracks, stains, uneven finishes, drainage problems, and poorly fitted components are easier to find.
For new HDB flats in Singapore, the one-year Defects Liability Period starts from the key issuance date. Checking the flat soon after key collection leaves time to report defects, let the contractor correct them, and review the repaired areas before the period ends.
Before buying a property
Arrange the inspection before completing the purchase, while the findings can still affect the decision. Water damage, unsafe wiring, failed drainage, and poorly executed alterations add repair costs and may delay renovation or move-in.
Finding them at this stage gives the buyer time to investigate the cause, price the work, and decide whether the property still fits the budget.
At the start and end of a tenancy
Photograph each room, fitting, and appliance when the tenant moves in. At move-out, repeat the photographs from similar angles so the two sets show what changed during the tenancy.
Without both records, disagreements rely on memory, undated images, and incomplete notes rather than a direct comparison.
After renovation
Inspect completed work before final sign-off. Start with the renovation agreement, then check whether the promised finishes, fittings, plumbing work, electrical points, cabinets, and drainage were completed properly.
Anything that needs correction should be inspected again after the contractor returns. Final approval should only cover work that has been completed and checked.
During maintenance or after damage
An inspection is also needed when a new problem appears or an old one returns. After a leak, start in the room where the water appeared, then check the adjoining spaces and the rooms below for dampness or staining.
Electrical faults, storm damage, impacts, and pest signs require a closer look at the affected area and anything connected to it. Where problems keep returning, scheduled checks help determine whether an earlier repair failed or the damage has reached another part of the property.

How Does an Interior Inspection Work?
An interior inspection begins by confirming what’s included and making sure those areas can be reached. The inspector then moves through the property in a consistent order, which makes repeated defects easier to spot across different rooms.
1. Confirm the Scope and Access
Before the check, the inspector first confirms which rooms, common areas, and additional tests are part of the visit. Floor plans, handover records, renovation documents, and earlier defect lists help identify altered layouts, previous repairs, and problems that have returned.
The property also needs to be ready for inspection. Furniture and stored items should be moved away from windows, drains, access panels, and built-in fittings. Anything that’s still blocked is listed as inaccessible rather than counted as checked.
2. Look for Connections Across the Property
Recent patching, water stains, uneven floors, and unfinished repairs may look minor on their own. Comparing them with conditions elsewhere helps show whether the problem ends in one room or continues into another part of the property.
A stain below one pipe may come from a local leak. Similar marks in the adjoining room or on the floor below suggest that water has travelled beyond that point.
3. Check Each Room in the Same Order
For each room, the inspector checks the same parts in the same order. A common sequence starts with the ceiling and upper walls, then moves to doors, windows, built-in fittings, floors, and visible plumbing, electrical, and ventilation components. Using the same order reduces missed items and helps the inspector compare similar defects across rooms.
Functional checks take place alongside the visual review when they’re included in the brief. Doors and windows are opened, taps are run, drains are observed, and accessible switches, fans, and controls are operated.
4. Record the Findings and Inspection Limits
The report identifies the room and component involved, then uses photographs to show the surrounding area and the defect itself. A crack is measured when its width changes how serious the finding is. Moisture readings are added when staining alone can’t show whether the surface is still damp.
Blocked and concealed areas are recorded separately. When visible damage suggests a cause behind a wall, beneath fixed flooring, or inside a system, the report states what needs further investigation without presenting the suspected cause as confirmed.
Interior Inspection Checklist
Cracks, dampness, unstable floors, repeated drainage problems, exposed electrical parts, and pest damage need further investigation because treating the visible sign alone may leave the underlying fault unresolved.
Walls, Ceilings, and Floors
Check for:
- Cracks that return after repair or continue across adjoining surfaces
- Water stains, damp patches, or blistered paint
- Uneven plaster and visible patch repairs
- Loose, cracked, or hollow-sounding tiles
- Flooring that lifts, flexes, dips, or separates
- Damaged skirting and gaps along wall edges
Doors, Windows, and Fixed Fittings
Open and close each fitting, then check for:
- Scraping, sticking, or resistance
- Loose hinges, locks, handles, and restrictors
- Misaligned frames
- Damaged seals, cracked glass, or gaps around openings
- Cabinets and drawers that rub or don’t close properly
- Loose shelves, mirrors, counters, and mounted fittings
Kitchens, Bathrooms, and Drainage
Run the water while checking for:
- Leaks around taps, pipe joints, basins, and toilets
- Slow drainage or standing water
- Cracked grout and failed sealant
- Loose toilets, basins, taps, and shower screens
- Swollen cabinets or staining beneath sinks
- Mineral deposits around earlier leak points
Electrical, Ventilation, and Safety Items
Check for:
- Broken outlets, switches, and faceplates
- Loose fittings or exposed conductors
- Heat marks, buzzing, or burning smells
- Fans that don’t run
- Blocked ventilation grilles
- Loose handrails, guardrails, and stair edges
- Missing or damaged alarms
What Should an Interior Inspection Report Include?
Whether the report is prepared manually or through building inspection software, someone who wasn’t on site should be able to understand what the inspector observed without asking for extra explanation. The example below shows how ceiling staining could be recorded.
Conclusion
The value of an interior inspection comes from preserving the property’s condition before renovation, handover, or repairs change it. The report gives owners, contractors, and maintenance teams a clear basis for deciding what needs repair, what requires further investigation, and what should be checked again later.
After the work is finished, the earlier photos, measurements, and notes show whether the defect was corrected or simply covered over.
On larger handover or multi-property inspections, that record becomes harder to manage across hundreds of images and repeated findings. H3 Zoom is an inspection intelligence platform that helps teams review those images, connect defects to rooms or floor-plan locations, and keep the record usable through reporting, repair, and reinspection.